
Blog
How To Connect Hose To Troy Bilt Pressure Washer


Are you struggling to connect the hose to your Troy Bilt pressure washer? Don’t worry, we’ve got you covered! In this guide, we will walk you through the step-by-step process of connecting the hose to your Troy Bilt pressure washer, ensuring a secure and efficient connection.
Step 1: Before you begin, make sure that your pressure washer is turned off and disconnected from the power source. This will ensure your safety throughout the process. Additionally, check that you have all the necessary equipment, including the hose and couplings.
Step 2: The first thing you need to do is locate the water inlet on your pressure washer. This is usually at the rear of the machine and is marked with an arrow or the word “inlet.” Once you have located it, remove the protective cap, if there is one.
Step 3: Take the female end of the hose, which is typically the end with the threaded connector, and attach it to the water inlet. Make sure to turn it clockwise until it is securely tightened. You can use a wrench to ensure a tight connection, but be careful not to overtighten and damage the threads.
Step 4: Now, take the male end of the hose, which usually has the quick connect coupler, and attach it to the spray gun. Again, turn it clockwise until it is firmly secured. If your pressure washer uses a different type of connector, consult the user manual for specific instructions.
Step 5: Once both ends of the hose are securely attached, turn on the water supply. This will allow water to flow through the hose and into the pressure washer. Check for any leaks and make sure that the connections are tight.
Step 6: Finally, you can now turn on your Troy Bilt pressure washer and start using it. Keep an eye on the hose connections while operating the machine to ensure they remain tight and leak-free.
By following these simple steps, you can easily connect the hose to your Troy Bilt pressure washer and get it ready for any cleaning task at hand. Remember to always read the instruction manual provided with your pressure washer for any specific guidelines or precautions. Happy cleaning!
Steps to Connect Hose to Troy Bilt Pressure Washer
Connecting a hose to your Troy Bilt pressure washer is a simple process that ensures you can effectively clean various surfaces with high-pressure water. Follow these steps to connect the hose to your Troy Bilt pressure washer:
Step 1: Safety First
Before beginning the process, make sure the pressure washer is turned off and the engine has cooled down. This will help prevent accidents and injuries.
Step 2: Locate the Hose Connection
Find the hose connection on your Troy Bilt pressure washer. It is typically located on the front or side of the machine.
Step 3: Identify the Type of Hose
Determine the type of hose you have and whether it requires a quick-connect or threaded connection. Most Troy Bilt pressure washers use a quick-connect system, which is fast and easy to use.
Step 4: Prepare the Hose
If you have a quick-connect hose, all you need to do is ensure the quick-connect adapter on the hose is securely attached. If you have a threaded hose, you may need to wrap plumber’s tape around the threaded connection before attaching it to ensure a tight seal.
Step 5: Attach the Hose
Insert the quick-connect adapter or threaded hose connection into the hose connection of the pressure washer. Push or twist it until it clicks or tightens securely, depending on the type of connection.
Step 6: Check for Leaks
After attaching the hose, turn on the pressure washer and check for any leaks around the connection. If you notice any leaks, tighten the connection or replace any damaged parts.
Step 7: Test the Connection
Once you have connected the hose, double-check that everything is secure and turn on the pressure washer. Start with a low-pressure setting and gradually increase it to ensure the hose and connection can handle the water pressure.
Now you are ready to use your Troy Bilt pressure washer with the hose securely connected. Remember to always follow the manufacturer’s instructions and safety guidelines for optimal performance and safety.
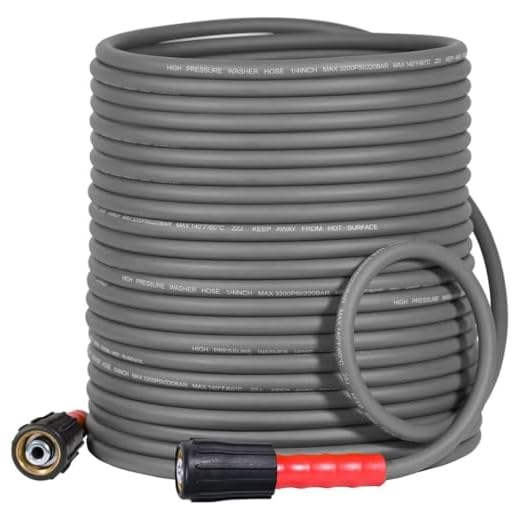
Step 1: Choose the Right Hose
When it comes to connecting a hose to your Troy Bilt pressure washer, the first step is to choose the right hose. The hose you select should be compatible with the pressure washer and capable of handling the water pressure and flow rate.
Start by checking the user manual or the manufacturer’s instructions for the pressure washer to find out the recommended hose specifications. This will include the hose diameter and length that is suitable for your pressure washer model.
Make sure to choose a hose that is made from durable materials, such as reinforced rubber or PVC, to withstand the high-pressure water flow. Look for a hose that has brass fittings, as these are more durable and less likely to leak or corrode over time.
Additionally, consider the length of the hose based on your needs. If you will be using the pressure washer for tasks that require a longer reach, such as cleaning a large patio or driveway, opt for a longer hose. However, keep in mind that longer hoses may reduce the water pressure at the nozzle.
By selecting the right hose for your Troy Bilt pressure washer, you can ensure a secure and efficient connection that will allow you to complete your cleaning tasks effectively.
Step 2: Locate the Water Inlet
Once you have assembled the pressure washer, the next step is to locate the water inlet. The water inlet is where you will attach the hose to the pressure washer.
To find the water inlet, look for a fitting on the pressure washer that is specifically designed to connect to a hose. It is usually located on the side or the back of the machine.
Table of Contents
- Introduction
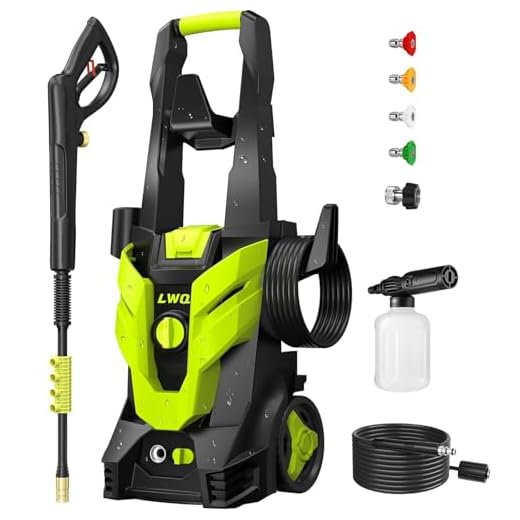
- Step 1: Assemble the Pressure Washer
- Step 2: Locate the Water Inlet
- Step 3: Attach the Hose
- Step 4: Turn on the Water Supply
- Step 5: Test the Connection
- Conclusion
If you are unsure about the location of the water inlet, consult the owner’s manual or the manufacturer’s website for specific instructions for your model. It is important to connect the hose to the correct inlet to ensure proper functioning of the pressure washer.
Once you have located the water inlet, you are ready to move on to the next step of attaching the hose to the pressure washer.
Step 3: Connect the Hose to the Water Inlet
Now that you have your pressure washer set up and ready to go, it’s time to connect the hose to the water inlet. The water inlet is where you will attach the garden hose that will supply water to your pressure washer.
Instructions:
1. Locate the water inlet on your pressure washer. It is usually located at the front or back of the unit.
2. Take one end of your hose and attach it to the water inlet. Make sure it is firmly secured and hand-tightened to prevent any leaks.
3. If your pressure washer has a quick-connect system, simply push the hose onto the water inlet until it clicks into place.
4. If your pressure washer does not have a quick-connect system, you may need to use a wrench to tighten the hose onto the water inlet.
5. Once the hose is securely attached to the water inlet, make sure the other end of the hose is connected to a water source, such as a garden faucet.
6. Turn on the water source to allow water to flow through the hose and into the pressure washer.
Your hose is now connected to the water inlet and you are ready to start using your Troy Bilt pressure washer. Proceed to the next step to learn how to start and operate your pressure washer safely.
Step 4: Attach the Other End of the Hose
Once you have connected one end of the hose to the pressure washer, it’s time to attach the other end of the hose to the water source.
Take the other end of the hose and locate the coupling nut. This is the threaded part of the hose that will attach to the water source. Make sure the coupling nut is clean and free of any debris.
Next, find the water inlet on the pressure washer. This is the part of the machine where the hose will connect. It is usually labeled with the word “Inlet” or a similar indication.
Hold the coupling nut and align the threads with the water inlet on the pressure washer. Start twisting the coupling nut onto the inlet by hand until it is snug. Avoid over-tightening, as this can damage the threads or cause leaks.
Once the coupling nut is hand-tightened, use a wrench to securely tighten it. This will ensure a proper seal and prevent any leaks during operation. Use the wrench to turn the coupling nut in a clockwise direction until it is firmly tightened.
After attaching the other end of the hose, double-check that both connections are secure. Give the hose a gentle tug to make sure it is properly attached to both the pressure washer and the water source.
With both ends of the hose securely attached, you are now ready to start using your Troy Bilt pressure washer.
Step 5: Test the Connection
After you have securely connected the hose to your Troy Bilt pressure washer, it is important to test the connection to ensure it is working properly. Here’s how you can do it:
1. Check for Any Leaks
Turn on the water supply and allow it to flow through the hose and into the pressure washer. Inspect the connection points and the length of the hose for any leaks. If you notice any leaks, tighten the connections or replace the hose if necessary.
2. Turn on the Pressure Washer
Once you have confirmed that there are no leaks, it’s time to turn on the pressure washer. Follow the manufacturer’s instructions for starting the machine. Allow it to run for a few seconds to build up pressure.
3. Test the Water Flow
With the pressure washer running, squeeze the trigger on the spray gun to release the water. Check if the water flow is strong and consistent. If the flow is weak or interrupted, there may be an issue with the hose connection. Double-check the connection and make sure it is securely attached.

By following these steps, you can ensure that you have properly connected the hose to your Troy Bilt pressure washer and that it is functioning correctly. If you encounter any issues, refer to the user manual or contact Troy Bilt customer support for assistance.
Questions and answers
What tools do I need to connect a hose to a Troy Bilt pressure washer?
You will need an adjustable wrench and possibly a pair of pliers to connect a hose to a Troy Bilt pressure washer. It is important to make sure that the hose is securely attached to the pressure washer to prevent leaks.
Can I use any hose with a Troy Bilt pressure washer?
No, not all hoses are suitable for use with a Troy Bilt pressure washer. It is recommended to use a high-pressure hose specifically designed for use with pressure washers. These hoses are constructed to withstand the high water pressure and provide optimal performance.
How do I connect a hose to a Troy Bilt pressure washer?
To connect a hose to a Troy Bilt pressure washer, start by turning off the pressure washer and releasing any built-up pressure. Then, locate the hose connection on the pressure washer and remove the protective cap. Attach the female end of the hose to the male end of the pressure washer. Tighten the connection securely using an adjustable wrench. Finally, turn on the pressure washer to ensure there are no leaks and check for proper water flow.
What should I do if I have trouble connecting the hose to my Troy Bilt pressure washer?
If you are having difficulty connecting the hose to your Troy Bilt pressure washer, try the following steps: make sure both ends of the hose are clean and free from debris, check that the threads on the hose and the pressure washer are not damaged, apply a small amount of lubricant to the threads to make it easier to screw on, and use an adjustable wrench or pliers for added leverage if necessary. If you continue to have trouble, consult the user manual or contact the manufacturer for assistance.
Recent Posts
-

How To Connect Soap To Honda Pressure Washer
June 28, 2024 -

A To Z Pressure Washing Scam
June 27, 2024 -

How To Pressure Wash Your Home With A Garden Hose
June 27, 2024 -

Where Can I Buy Honda Pressure Washer Parts
June 25, 2024 -
